Can You Grow Blue Hubbard Squash in Missouri
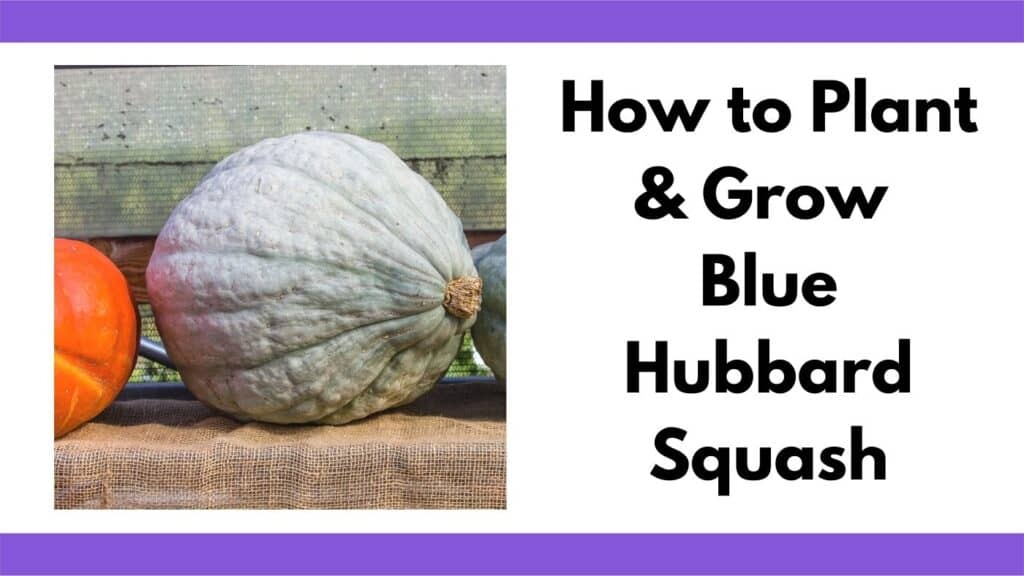
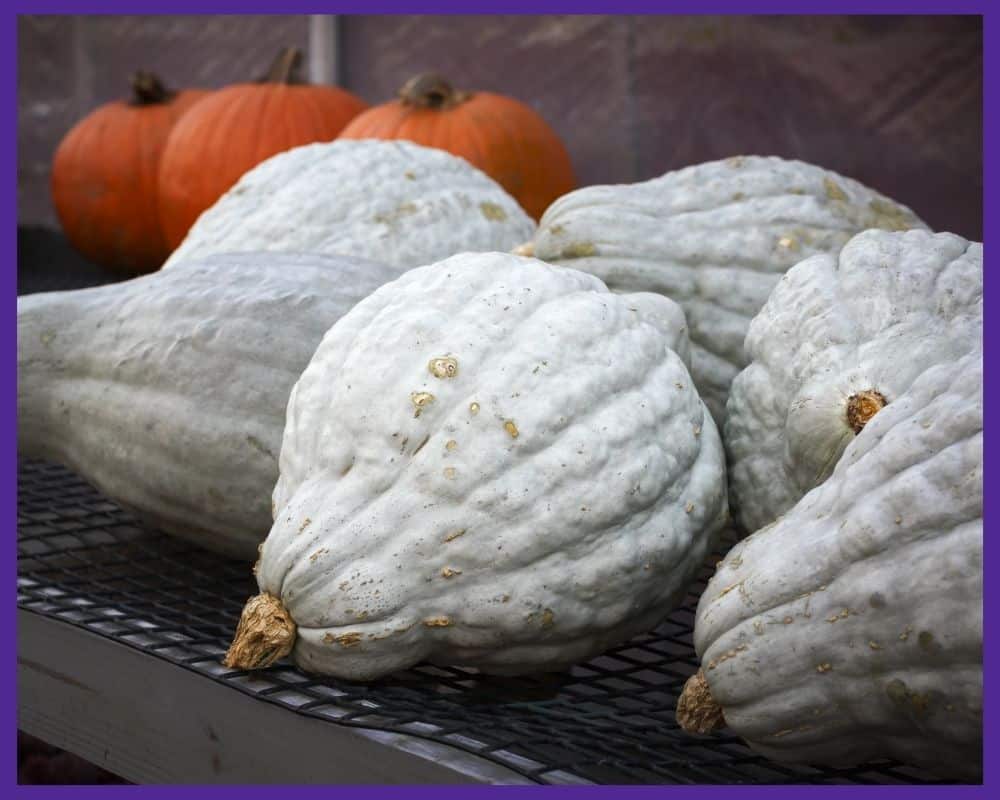
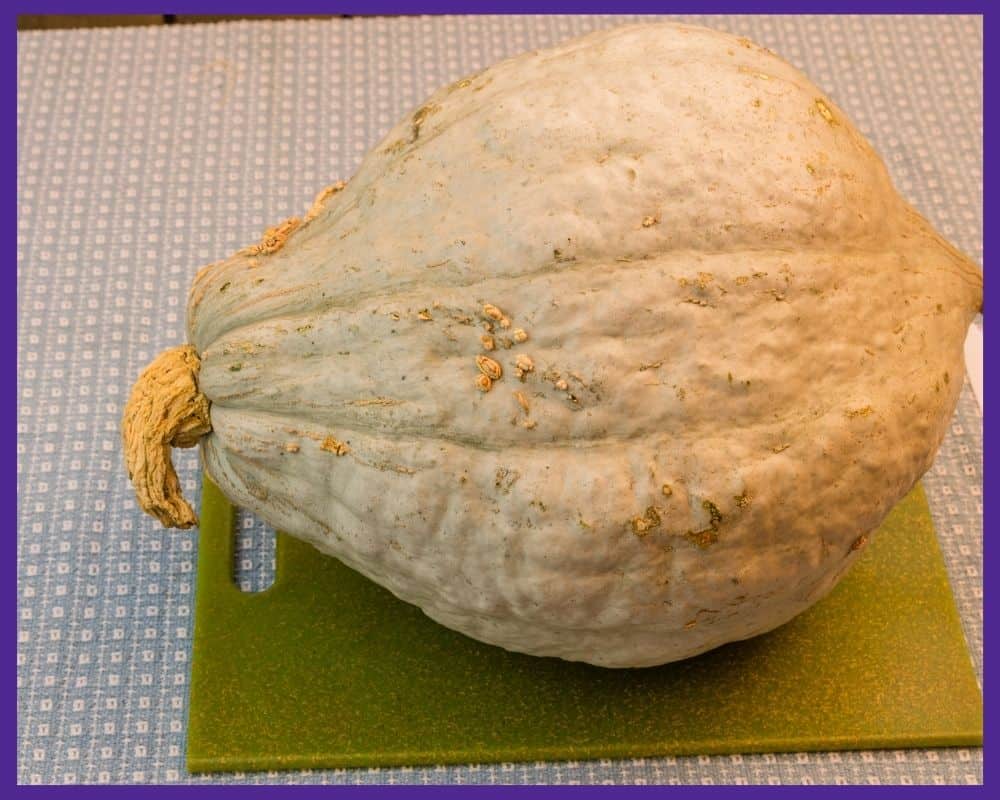
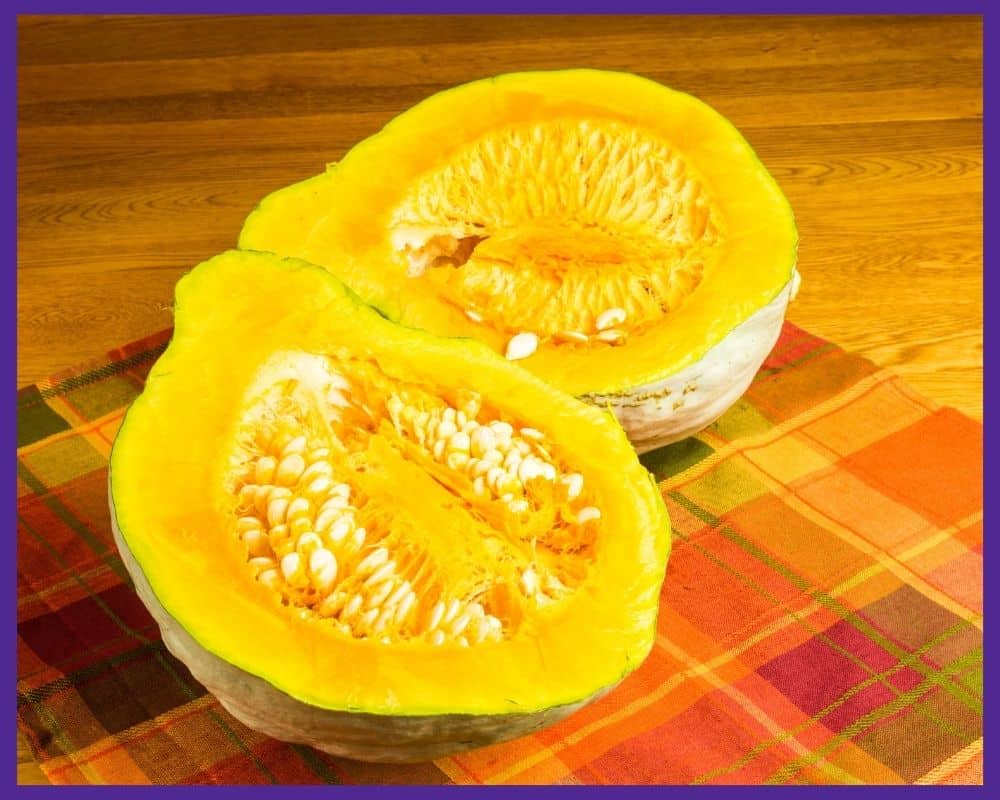
Blue hubbard is a beautiful winter squash that you may spot at farm stands in the fall, particularly in New England. It's both decorative and edible with light blue-green or blue-gray skin and a deep yellow to orange interior. It is famous for its large size, long life in storage, and ability to keep people fed through the winter months.
If you want to add a blue hubbard plant or two to your garden, it will take a little patience to allow the large fruits to fully mature, but the results will be well worth it.
Here's everything you need to know about how to plant and grow blue hubbard squash, including harvesting and curing the fruits for storage.
This post includes affiliate links, which means I may earn a commission on purchases made at no additional cost to you.
What is Blue Hubbard Squash?
Blue hubbard is a very unique and distinctive type of winter squash (Cucurbita maxima). The fruits grow much larger than most winter squash varieties, averaging about 12-15 pounds each. They can grow up to 30 pounds, and some people have claimed squashes 40 pounds or more. Their shape is a short, stubby neck that goes into a large, rounded body.
Many gardeners love growing blue hubbard squash just for its decorative appearance. The fruits have a "farmstand" look and make great long-lasting fall decorations. My husband is one of these people – he adores squash and gourds for decoration, but would rather feed them to the chickens than eat them personally.
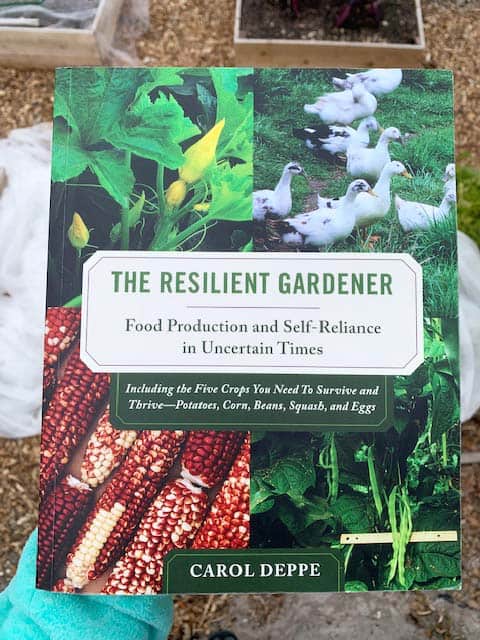
However, the squash is also edible and has a sweet, rich flavor when baked. It tastes even better if allowed to sit for a few weeks in storage and can be stored for up to 6 months after harvesting. Blue hubbard squash is a staple for many people who practice survival gardening, self-sufficiency, or gardening for food calories. For tons of great information about curing and storing squash, make sure to read Carol Deppe's The Resilient Gardener.
Like all winter squash varieties, blue hubbard needs a long growing season with plenty of sunlight and warmth. The plants are very sensitive to cold temperatures and take up a significant amount of space in the garden.
With the right planning, blue hubbard can be grown in USDA zones 3-9— as long as you can give it about 100 frost-free growing days.
Starting Blue Hubbard Squash from Seed
The first step of how to plant and grow blue hubbard squash is getting seedlings started. It's very easy to grow your own squash from seed, and this is usually the best method because it can be hard to find this exact variety at a local nursery.
Actually, in my opinion, it is always best to start plants from seed, even if you can find them locally unless you can buy them from a trusted local seller. Big box stores and commercial greenhouses typically sell varieties that look good as seedlings, but don't necessarily perform well. They may also be diseased (I've seen many diseased and mildew-covered seedlings at the store) and probably haven't been properly cared for.
I also recommend shopping small for your seeds. Seeds from big suppliers at large stores are more likely to be mishandled and poorly stored, which can decrease germination rates. I do lots of seed shopping on Etsy, believe it or not. All three sellers listed below are people I've purchased seeds from. I've found their seeds to be high-quality and their customer service to be outstanding.
Heirloom Blue Hubbard Squash Seeds - Organic
Photo Credit: Nimble Nitecap on Etsy
Nimble Nitecap gave me free French breakfast radish seeds with a recent order. I love French breakfast radishes and was excited to see the seeds! I also got a discount coupon for a future order. They offer different sizes of seed packets, including (at the time of writing) as little as 10 seeds.
Starting Squash Seeds Indoors
If you are gardening somewhere with a short growing season (like most northern gardeners), the best plan is to start your seeds indoors. This gives them a head-start and helps to ensure that the squash will be ready before the first fall frost. Starting seeds indoors can also be a good choice for southern gardeners with extreme pest pressure.
Starting seeds indoors can also be helpful for gardeners with extreme pest pressure. If your seedlings get devoured before they become established, transplanting can help your plants have a fighting change.
Plan to get your seeds going 2-4 weeks before your last average frost date in the spring.
Because squash doesn't like being transplanted, use peat pots or another biodegradable option rather than planting in normal seedling trays. Will Bonsall, an off-grid homesteader who's been virtually self-sufficient for decades, recommends using 3-4″ peat pots for all squash transplants. I followed his advice last year and used large peat pots and coconut coir pots and all of my cucurbits survived transplanting.
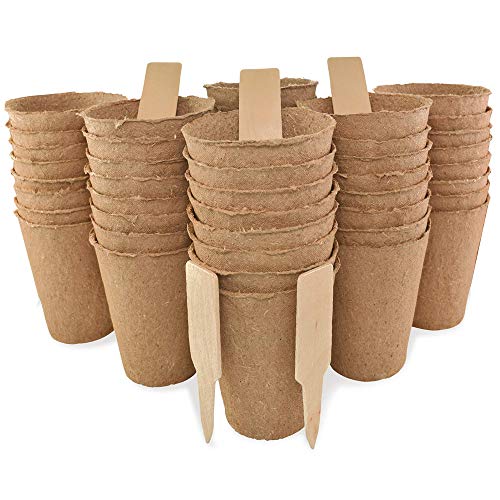
Daniel's Plants 3" Peat Pots | Plant Pots for Seedlings & Seed Starter...
- GET YOUR DREAM GARDEN STARTED: Forget about plastic or ceramic plant pots - they're only good for indoor decorative plants. With these organic peat...
- GREAT FOR SAPLINGS & STARTERS: With a 3-inch diameter, these organic peat seedling pots are perfectly sized for starting flowers, herbs, and vegetable...
- PREVENT TRANSPLANT SHOCK: By becoming one with the root ball and promoting aeration, these amazing peat pots are great for transplanting plants...
Fill each pot almost to the top with damp seed starting mix and plant each seed ½-1" deep. Quite honestly, most seed starting mix kind of annoys me. Even though sterile seed starting mix is "best" for starting seeds, I usually use organic potting soil or even compost.
Make sure all the seeds are covered with soil and water them well. Place the pots somewhere warm, preferably at least 70-75°F or above. If you don't have a warm spot for them, use a heating mat to keep the soil warm. This will greatly help germination. Seed heating mats are also great for tomatoes, peppers, and eggplants.
Sale

VIVOSUN Durable Waterproof Seedling Heat Mat Warm Hydroponic Heating Pad...
- Reliable Results: The VIVOSUN professional heat mat maintains sweet-spot temperatures around 68-86℉(20-30℃), which is perfect for start seeding...
- Stable & Uniform Heat: The advanced far-infrared heating technology of this heat pad provides your plant with a warm environment to create optimal...
- Built to Last: Designed with soft, flexible, and ultra-lasting material, this warming mat goes beyond stringent MET standards; The IP67 rating...
Your seeds should sprout in about a week. Water the seedlings as needed, give them plenty of light, and continue to keep them warm. I typically use supplemental light in the form of these clip on grow lights or my larger LED grow light panel.
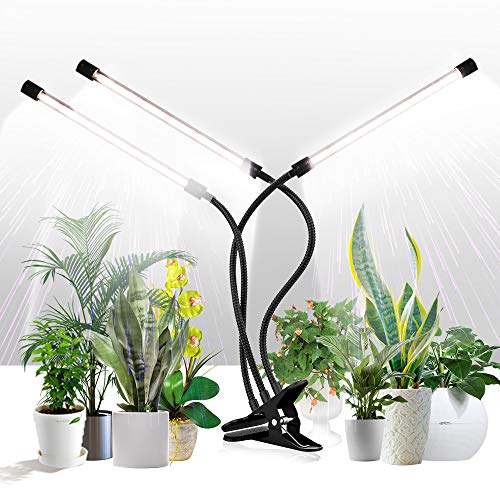
GHodec Grow Light for Indoor Plants,6000K 126LED Clip Plant Lights with...
- 【Sunlight White + Red LEDs】Eqquiped with 5 Red+37 Sunlight White LEDs in each bar,which is similar to the sunlight at noon,and ideal for all sorts...
- 【Timing Function & Versatile Settings】 Indoor plant lights offer 3 timing options-4H/8H/12H lighting time everyday. Auto on/off and no more...
- 【Sturdy Gooseneck & Strong Clamp】with anti-slip clamp and 360-degree adjustable gooseneck,it allows you to place the plant light in any direction...
Once they get several sets of true leaves and begin to vine out, your seedlings can be transplanted to the garden. Be sure the weather is warm and settled and that you harden them off first. Not sure what that means? Stop by this post on preparing seedlings for transplanting. Make sure to carefully rip off the bottom of each pot when you transplant it. Peat pots can last for a year or more in the soil and can stunt root growth.
Starting Squash Seeds Outdoors
If your growing season is a bit longer, you can start seeds directly in the garden rather than indoors. Plant them only after the danger of frost has passed and the soil has warmed to at least 60°F. Consider protecting them with a light frost cover on inset netting. Young seedlings are more vulnerable to pest attack.
Seeds can be planted either in level ground, mounds, or melon pits. Mounds are popular for growing cucurbits. People say they can help the soil warm more quickly and improve drainage. In his book Will Bonsall's Guide to Radical, Self-Reliant Gardening, Bonsall says that "mound" originally referred to a planting block, not a physical mound.
A melon pit may not be quite what you think (but it's a fantastic technique for success). The "pit" refers to digging a hole to bury compost in. I learned this technique from David the Good's book Compost Everything. You dig a hole, dump in raw compost, cover it up, then plant squash on top.
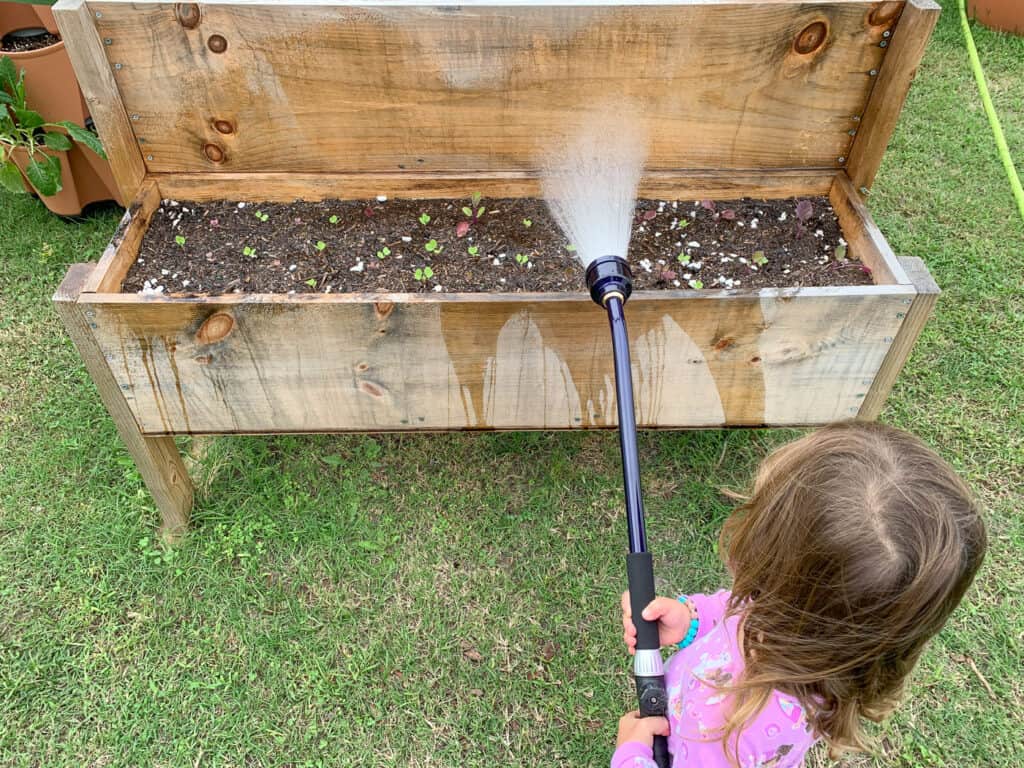
Plant each seed about 1" deep. Space them out 2-3' apart if you are planting in the ground or 3-4 seeds per hill if you are planting in "mounds" or on top of a pit. Water well and look for the seeds to sprout in 1-2 weeks. I usually see them sprout in way less time than that. I use a watering wand for a gentle stream that doesn't blast soil away or break seedlings. Learn more about watering wands in this post.
Once your seedlings are a few inches tall, thin them so that there is only one plant growing every 2-3' or 2-3 plants per mound. Thin them by snipping off extra plants at soil level so that you don't disturb any roots.
How to Plant and Grow Blue Hubbard Squash
When and Where to Plant
When to plant blue hubbard squash (whether as seedlings or seeds) depends somewhat on your growing conditions.
For most gardeners, the ideal time to plant is after all danger of frost has passed in the spring and the soil has warmed to at least 60°F or higher. This gives your plants the maximum amount of growing time before the first frost in the fall. Don't dirty your kitchen thermometer – grab an inexpensive soil thermometer.
If your growing season is longer and/or you have mild winters, you may want to consider planting seeds in early to midsummer to avoid squash pests that come out in the spring. Just be sure you have 100 frost-free growing days from the date you choose to plant.
As far as location goes, blue hubbard squash needs a spot that gets full sun and has good drainage. Winter squash plants prefer rich, fertile soil and won't be happy in soggy soil.
You'll also need to choose an area that allows your plants to spread out. The vines can easily get 8-12' in one season, so they need enough room to grow, either horizontally or vertically. Although I have grown Turkish Turban gourds vertically, blue hubbard are even larger and heavier and I haven't personally grown them vertically yet. You will need a very sturdy trellis, like this cattle panel trellis demonstrated by David the Good:
Planting Tips
Before you plant your seeds or seedlings, weed and clear out debris in your planting area. Squash are heavy feeders, which means it's a good idea to add compost if you have it.
As I mentioned above, last year I dug a hole and added raw compost to make a "melon pit" for my cucurbits. I made my hole about two feet deep, then dumped in about 4 gallons of kitchen waste. Squash (and tomatoes) enjoy rough, raw compost that other plants can't deal with. Then I covered the "compost" completely and transplanted my cucurbits. I placed three on top of each "pit." Make sure your compost is buried about 18″ down to keep animals from digging it back up again.
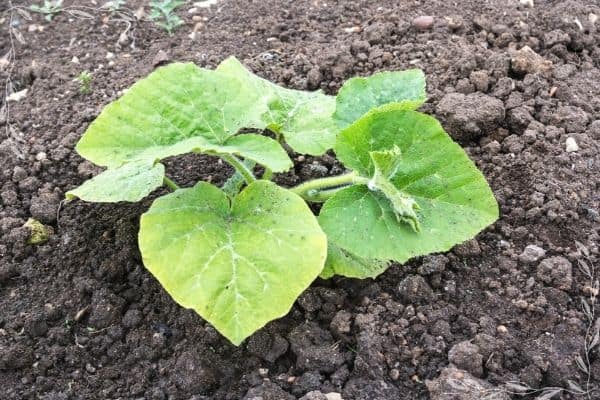
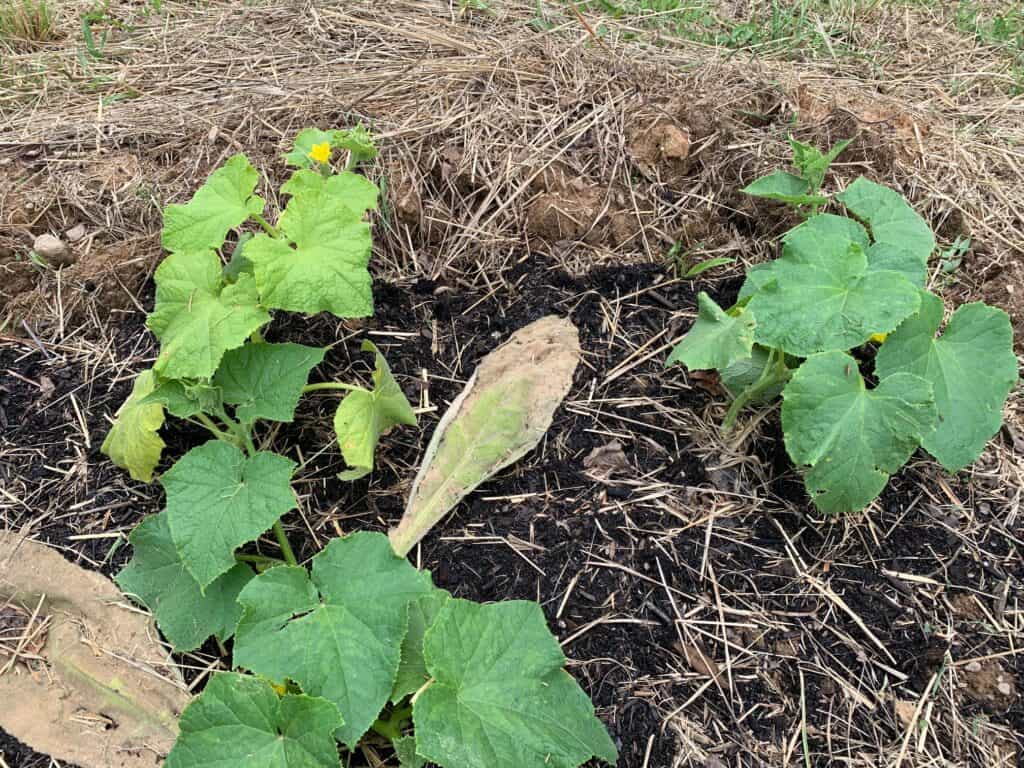
The photo below shows young cucumbers. Apparently it's the only photo I took of a melon pit during last growing season. I did add a bit of potting soil to fill in the gaps around the transplants because I was growing on a slope and used the native clay to form a little fishtail swale on the downhill side. The couple of random dead leaves on the ground are comfrey leaves that I added to rot in place.
Virtually everyone tells you to mix your compost into the soil. I think it's generally unnecessary work that hurts your back and wastes your time while damaging your soil structure. Nature adds leaves in the fall to the top of the soil. She doesn't mix them in, but they decompose and form soil. Even digging by hand can invert your soil layers and damage soil structure, which you want to avoid as much as possible. If you want an inspirational read about the power of not tilling, check out Gabe Brown's From Dirt to Soil. His work shows that we can heal the planet and feed the world.
If your soil tends to be on the cold side in spring, cover it with black plastic or a tarp to help it warm up more quickly.
When planting seedlings, be very gentle with the roots as they are sensitive to being transplanted. If you grew your seeds in biodegradable pots, simply plant the entire pot and rip off any portion that is sticking out of the soil.
Plants should be spaced at least 2-3' apart and should have a good 6-10' of growing area.
Caring for Blue Hubbard Squash
Once your seedlings are planted, be sure to water them regularly as their roots get established. You'll need to continue to give your plants about an inch of water each week, since squash has relatively shallow roots.
Be sure to water deeply. Traditional wisdom says to avoid getting the leaves or fruits wet because squash can be susceptible to mildew. I agree with Carol Deppe that sometimes plants look sad and dry and appreciate a spray down. Newer research shows that plants actually do use water from their leaves, not just soil moisture.
You can add mulch around your plants as the weather warms and turns dry to help retain moisture and prevent weeds. If you don't have wood chips, multiple layers of plain newsprint sold as packing material works surprisingly well. When you lay down about 6 sheets as one and weight them down with a stick or rock, they do a good job of blocking weeds and last all season.
Blue hubbard squash is a heavy feeder. Your plants will benefit from a regular application of compost tea or a balanced organic fertilizer, especially after flowers start to appear. If you already put down a slow-release fertilizer, apply it once more mid-season. I like worm castings because they're naturally slow-release and gentle so they won't burn your plants. I also use rabbit poop. Rabbit pellets are gentle and can be applied directly to your garden.
Sale

Organic Worm Castings - All Natural Soil Amendment, Soil Builder, and...
- Make Your Plants Happy - Worm castings are nature's gift for increasing plant growth and productivity the natural way. Our 100% all natural worm...
- Perfect for Houseplants, Flowers, and Vegetables - Using just a small handful of Worm Castings with your potting mix or as a top dressing will help to...
- All-Natural, Non-Toxic, Odor Free, OMRI listed for Organic use with no chemical fertilizers or synthetic materials.
When I decide to apply fertilizer, I typically use Neptune's Harvest. It smells like a fish, but is organic and has beneficial micronutrients, too. I recommend always choosing the most natural, organic fertilizer possible. Synthetic fertilizers are salts and ultimately burn and damage the soil. They also make plants require more water.
Last year I started making JADAM preparations for my garden to add beneficial microbes. This year I'm also making compost tea following this process excellently explained by the couple from Homestead and Chill:
If you have enough space, you can simply let the squash vines spread out and grow up any nearby structures.
Otherwise, most gardeners turn to trellises to give their squash enough room to grow. Blue hubbard squash will need a very sturdy trellis if you go this route, and you'll need to support the plants with melon nets once they start forming. (Remember, the fruits will weigh 10+ pounds.)

Watermelon Nets, ENPOINT 50 Pack 23.5 Inches Reusable Fruit Melon Net Bag,...
- Stretchy Size --- EnPoint melon mesh net bag measured 8" flat, stretches up to 14" width and 23.5" length.
- Sturdy & Reusable --- Made of thickened PE, high-temp heated bottom, top open with drawstring to close the netting bags or hang. Recommended weight...
- Breathable Woven Mesh --- See-through mesh helps fruit like apple, watermelon, kiwi, mango, orange, potato remain freshness as produce storage bags.
Common Pests and Problems
Now that you know the basics of how to plant and grow blue hubbard squash, it's important to be prepared for potential problems.
Blue hubbard plants can be affected by a number of common squash pests: squash bugs, squash vine borer, cucumber beetles, etc. Powdery mildew is a fungal condition that commonly affects squash plants as well.
One way to deal with pests is to first find out which ones are the worst in your area. Then you can delay planting until at least early summer to avoid the worst window of time for squash pests.
Quite honestly, I don't bother timing my planting to the pests but this is a strategy some gardeners use. I just make sure my plants are healthy and well-established when I transplant and keep a close eye on them throughout the growing season.
I use fine mesh netting to protect seedlings from insects, deer, and squirrels. Make sure to check your plants periodically and the covers after plants start blooming to allow pollinators access. As regular readers know, we actually garden in two locations – one in sandy 8a South Carolina and the other in much chillier West Virginia 5b. Pests can happen literally anytime of the year in South Carolina and the WV growing season is too short to plant long seasons crops late.
Allow your plants to spread out, if possible, so it has the chance to put down additional roots. You can even through a little soil over nodes in the stem, where leaves grow from the main vine. This encourages the plant to put down extra roots, which provides additional water and nutrients for the plant and gives insurance against vine borers. If one portion of vine is damaged, you can perform plant surgery to extract the infestation and the plant has a better chance of survival with additional roots in the ground.
In his Book Mini-Farming, Markham gives a recipe for homemade anti-fungal spray that can be a literal life-saver if your squashes get mildew. You can also try neem oil, which is a mild natural anti-fungal. Make sure to get pure neem oil, not neem oil mixed with an insecticide. I follow theses directions for how to emulsify neem oil correctly to mix my own neem oil with water and oil instead of buying more expensive pre-mixed sprays.
If mixing isn't your thing, you can always purchase pre-mixed neem solution you add to water without the need for additional emulsifying. If you see "concentrate" on the bottle, it's pre-mixed. Pure neem oil should say things like "100%" and "cold-pressed."
Honestly, the only pests that have ever completely devastated cucurbits I've planted are Japanese beetles and June beetles. They're difficult to deal with. I catch them and throw them in a bucket of soapy water. The soap keeps them from flying out of the water until they drowned. I use biodegradable soap so I can pour out the water on the ground, or dig a hole and pour the water in so I can bury the dead beetles. I've seen lots of people claim that June beetles don't damage plants. When there are a zillion of them, they do.
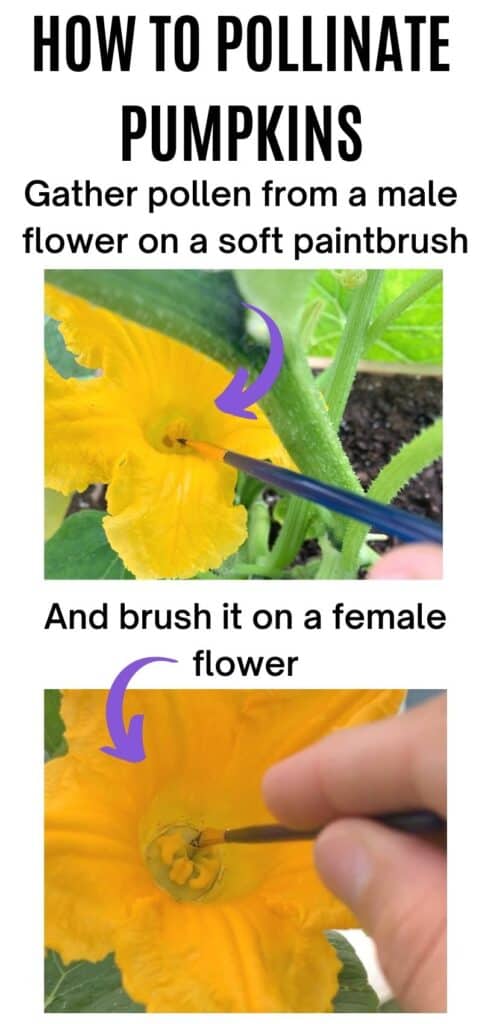
Another potential problem is poor to no fruiting. This can happen if your garden doesn't get many pollinators. The best way to resolve this is to plant native, pollinator-attracting plants, but you can also pollinate by hand to help your plants bear fruit.
How to Harvest and Cure Blue Hubbard Squash
Blue hubbard squash should be ready to harvest about 100 days after planting it from seed. The fruit should reach full size, be fully colored, and have a thick skin when it's ready to be picked. The stem connecting it to the vine should also be dry and tough.
One of the best ways to test whether a squash is ready is to try to piece the skin with your fingernail. If your fingernail goes through, it's not mature yet. If the skin is tough and resists puncture, it should be ready for harvest.
To harvest, cut the squash off with a sturdy pair of pruners or a sharp knife, leaving 1-2" of stem on each squash. Handle the fruit gently so that you don't break off the stem or puncture the skin. Use a sturdy pair of garden shears, like Felco pruners. Discover the best garden pruners in this post.
For storage, blue hubbard squash will need to be cured in a warm, dry place before being stored. For tons of information about curing and storing squash, be sure to read Carol Deppe's The Resilient Gardener. She grows most of her own calories and relies on squash. She literally fills her garage with squash!
If your weather stays dry, you can leave the squash on the vine to cure. Otherwise, bring it inside to a greenhouse or a sunny window for the curing process, which should take 1-2 weeks.
Storing and Enjoying Your Squash
Once you know how to plant and grow blue hubbard squash and how to cure it properly, you will be able to store it for 6 months and sometimes longer.
After the curing process is done, simply store the fruits somewhere cool (50-60°F is ideal) and dry. Check the squash regularly for signs of rotting and remove any that are getting soft. Of course, you can also place them around your home as a decoration!
Squash can also be cut up and frozen or canned in a pressure canner. Make sure to use a pressure canner – it isn't safe to can squash in a hot water bath. Traditionally, people dried strips of winter squash and ate them like jerky or added the strips to stews. Carol Deppe dehydrates strips of squash using a solar dryer she constructed. See The Resilient Gardener for details!
If you want to bake your squash, you can put it in the oven whole (if it fits!) after poking several holes in it with a knife. After it's roasted, cut the squash in half and scoop out the flesh. Enjoy it immediately or freeze for up to a year.
You can also (carefully) cut the squash in half:
Scoop out the seeds and stringy bits, just like you're carving a pumpkin. Make sure to save the seeds for planting next year or roasting!
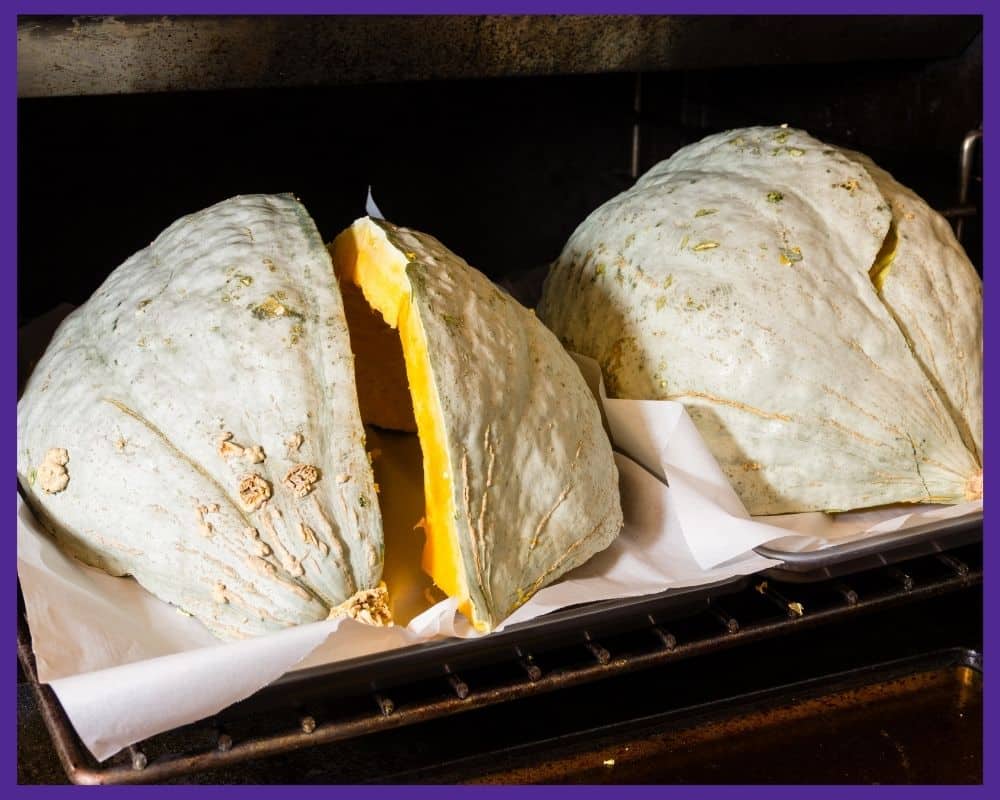
Then bake it face-down on a baking sheet:

I no longer cook with aluminum in direct food contact (learn more about why here) so I use my stainless steel cookie sheets. They're very sturdy and bake well.
Larger squash can benefit from being cut into quarters. This may be necessary if you have a really large squash or a smaller oven.
And there you have it! I hope you enjoy growing your own blue hubbard squash this year. Make sure to check out these additional warm weather growing guides here on Together Time Family:
Discover these must-know tips for planting yellow squash and common squash growing mistakes and problems.

Natasha Garcia-Lopez is an avoid home-gardener and proud owner of 88 acres of land in rural West Virginia. She was a member of the Association for Living History Farms and Agricultural Museums for many years and is currently enrolled in the Oregon State University Master Gardner Short Course program so she can better assist you with your gardening questions.She holds a certificate in natural skincare from the School of Natural Skincare.
Source: https://togethertimefamily.com/growing-blue-hubbard-squash/
0 Response to "Can You Grow Blue Hubbard Squash in Missouri"
Post a Comment